Latest Show
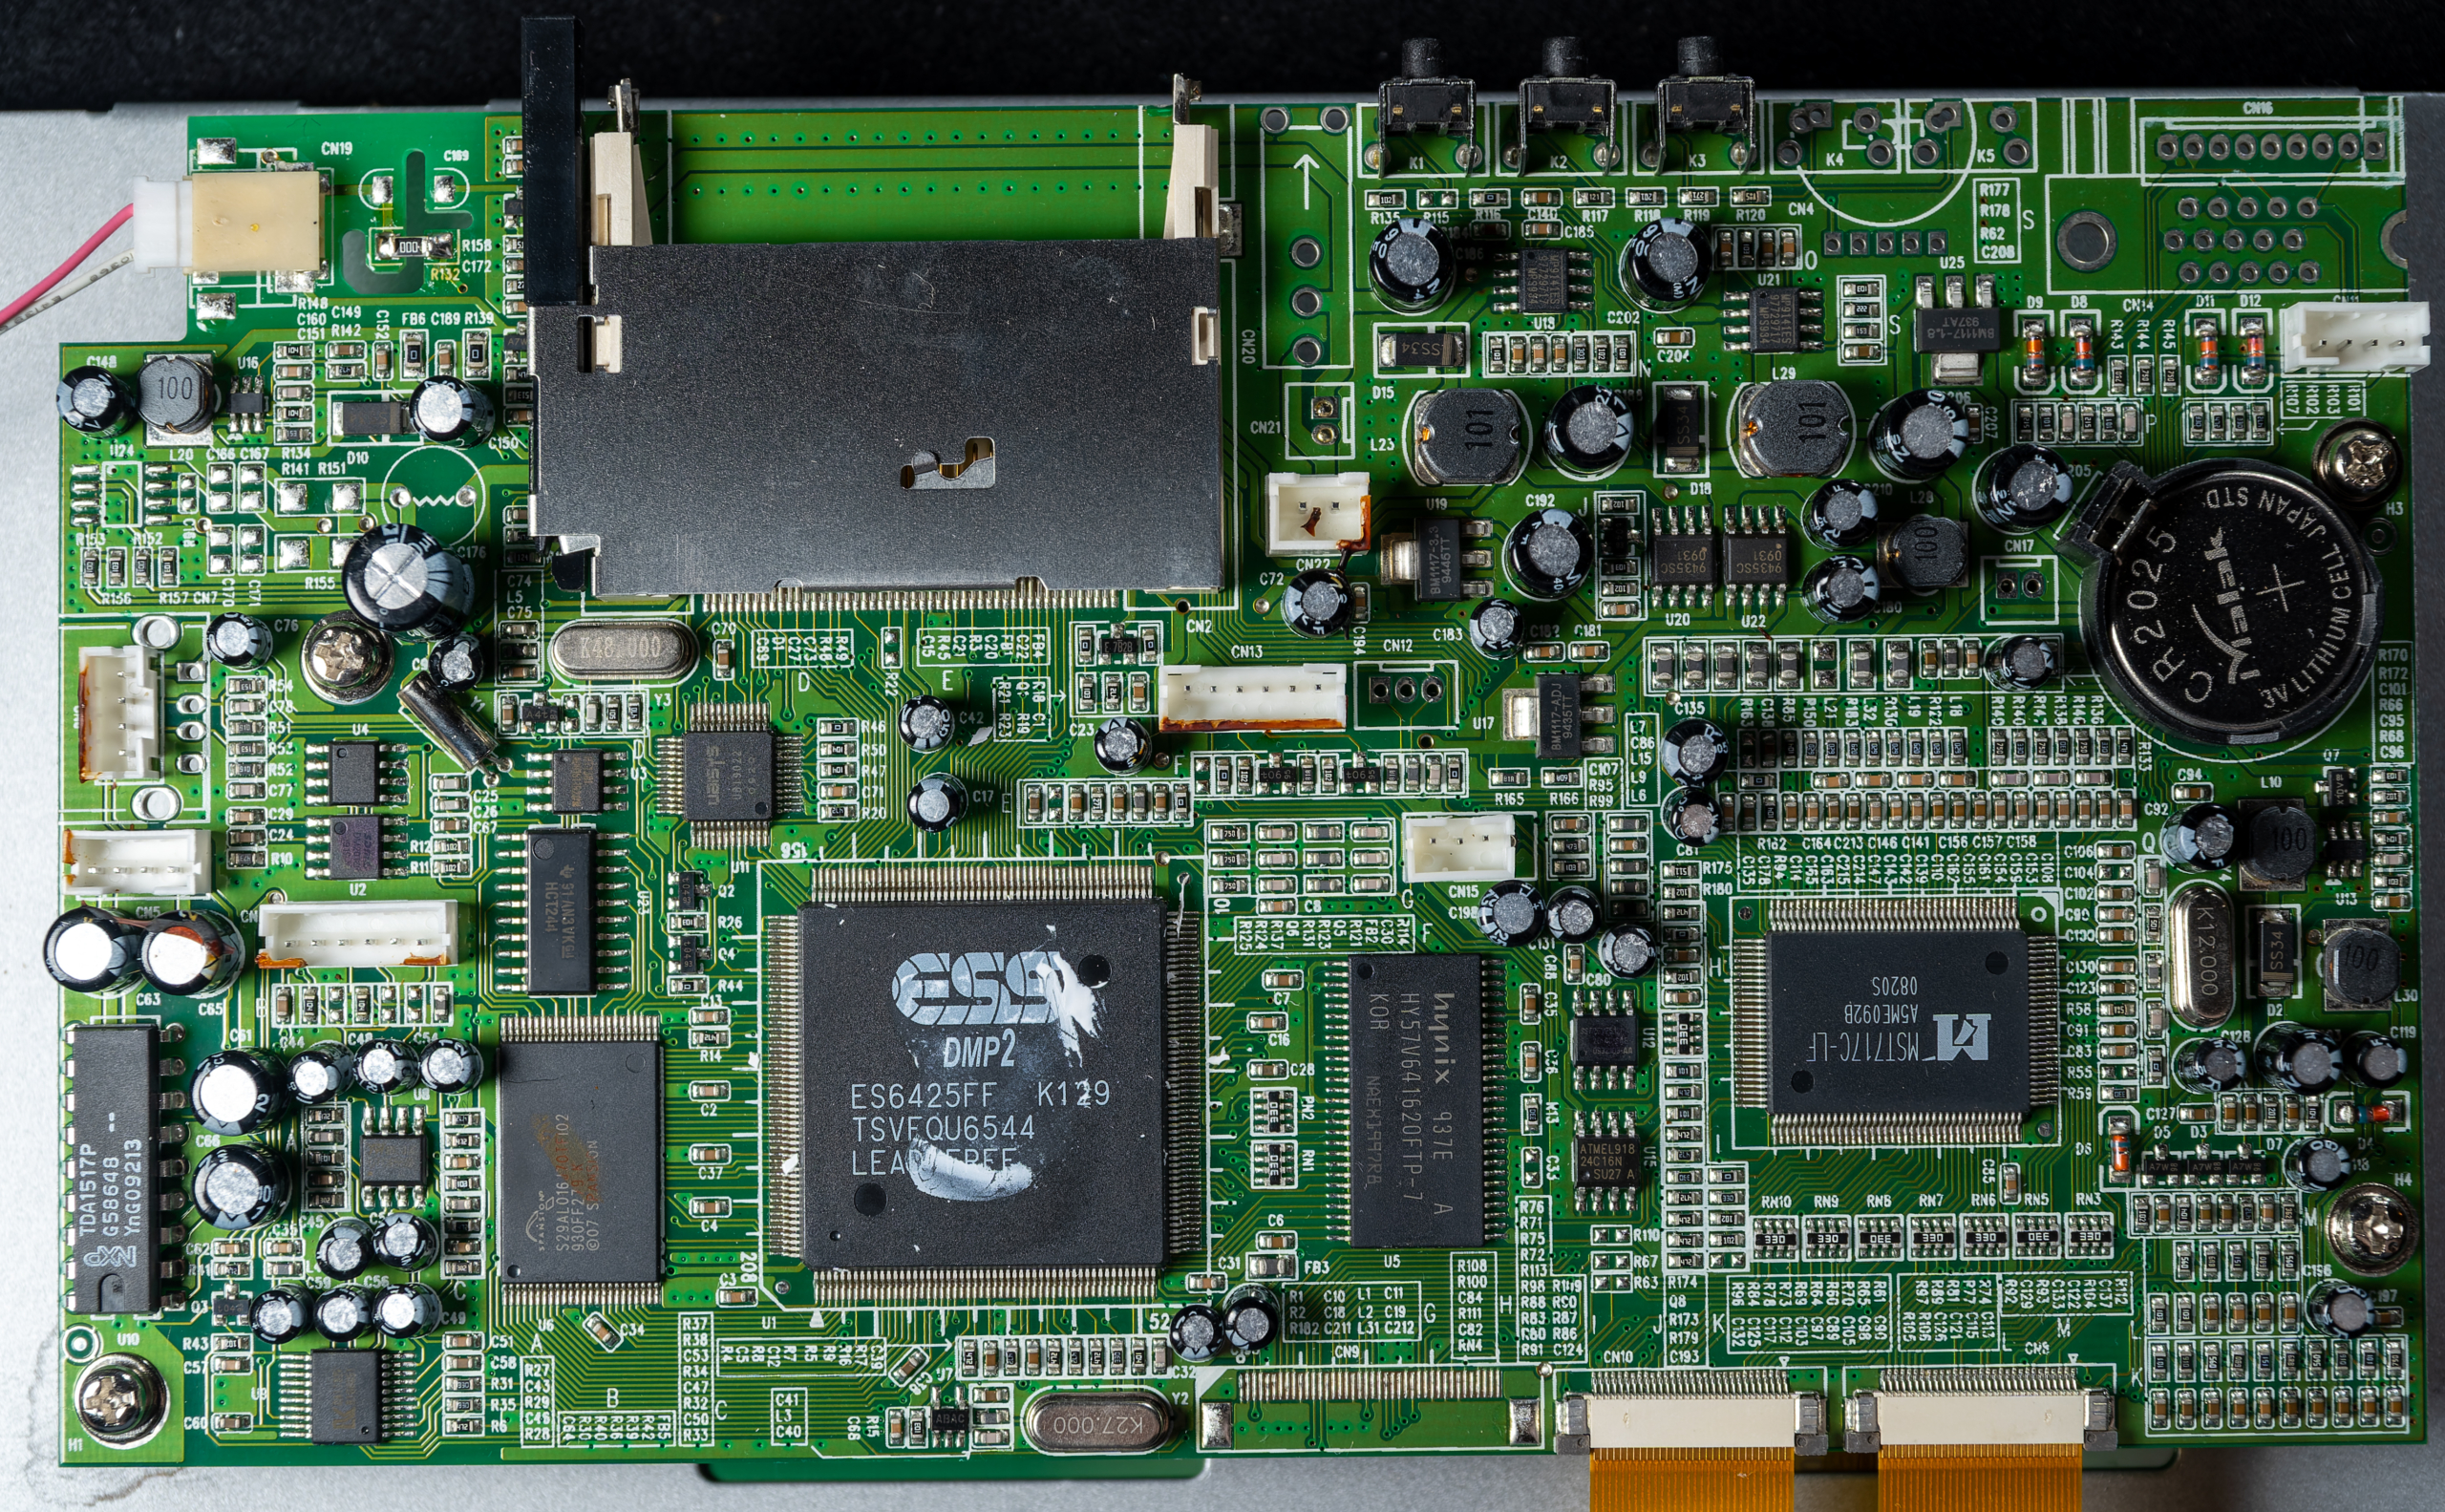
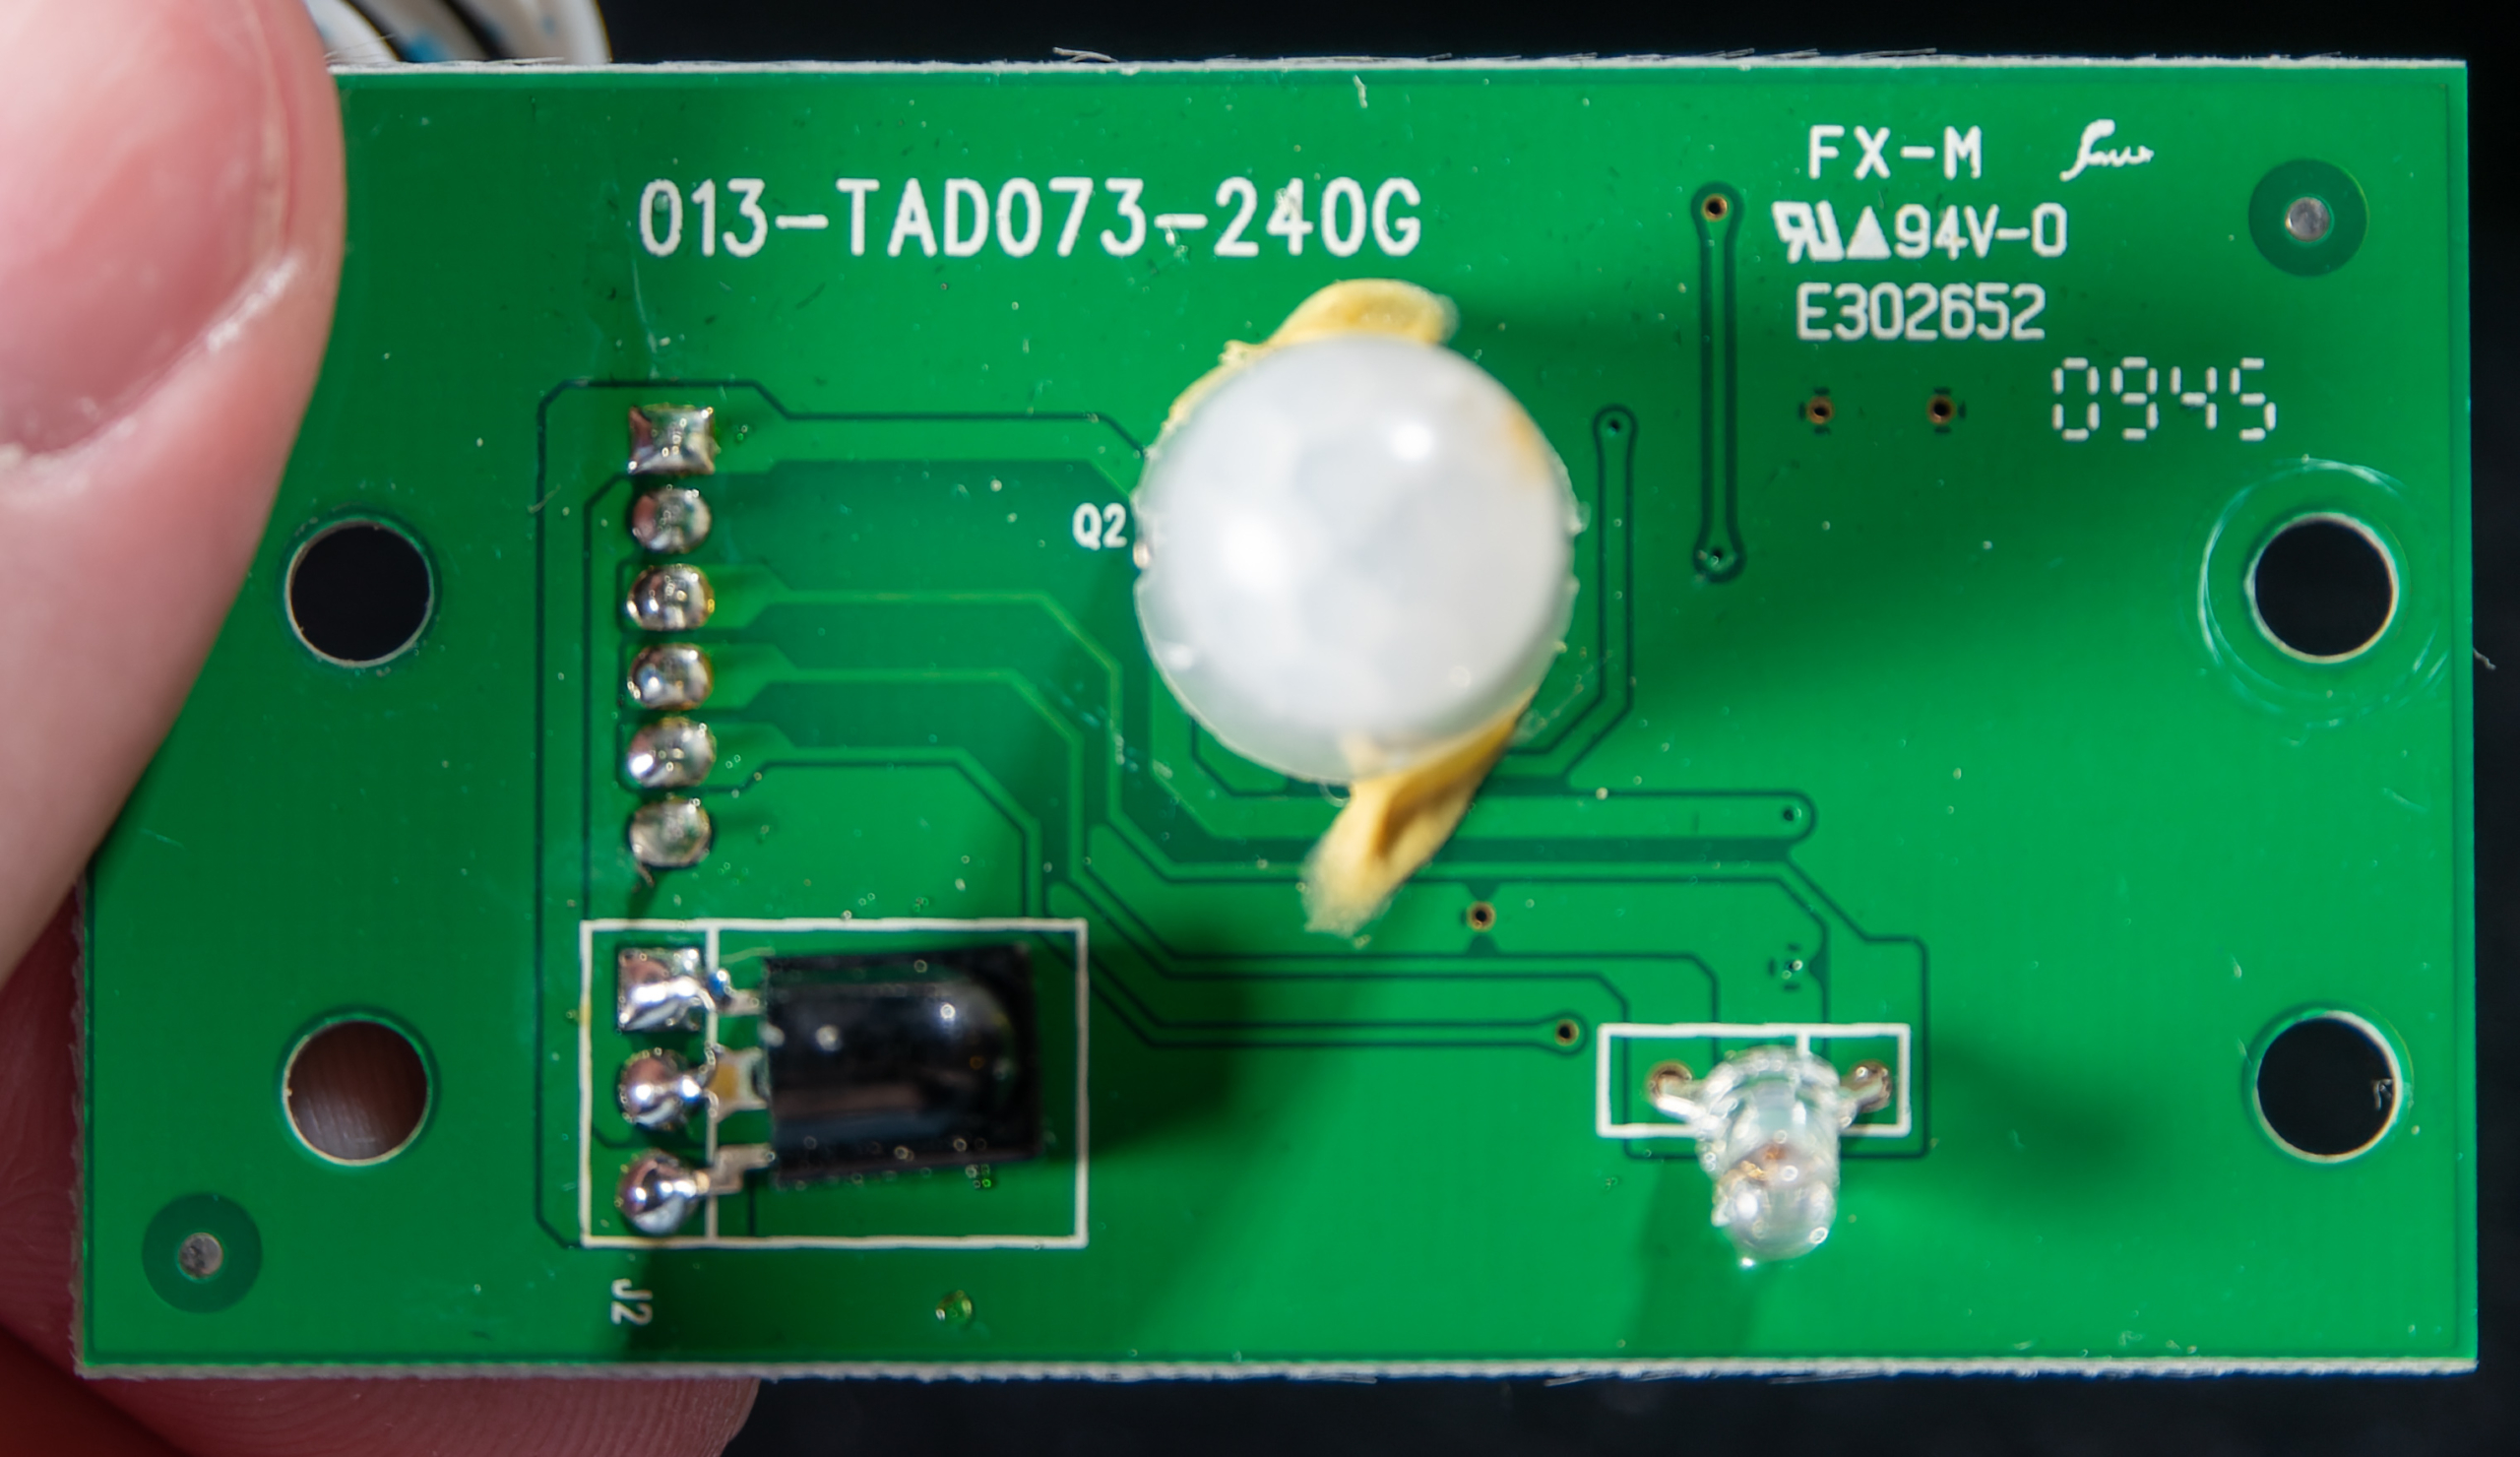
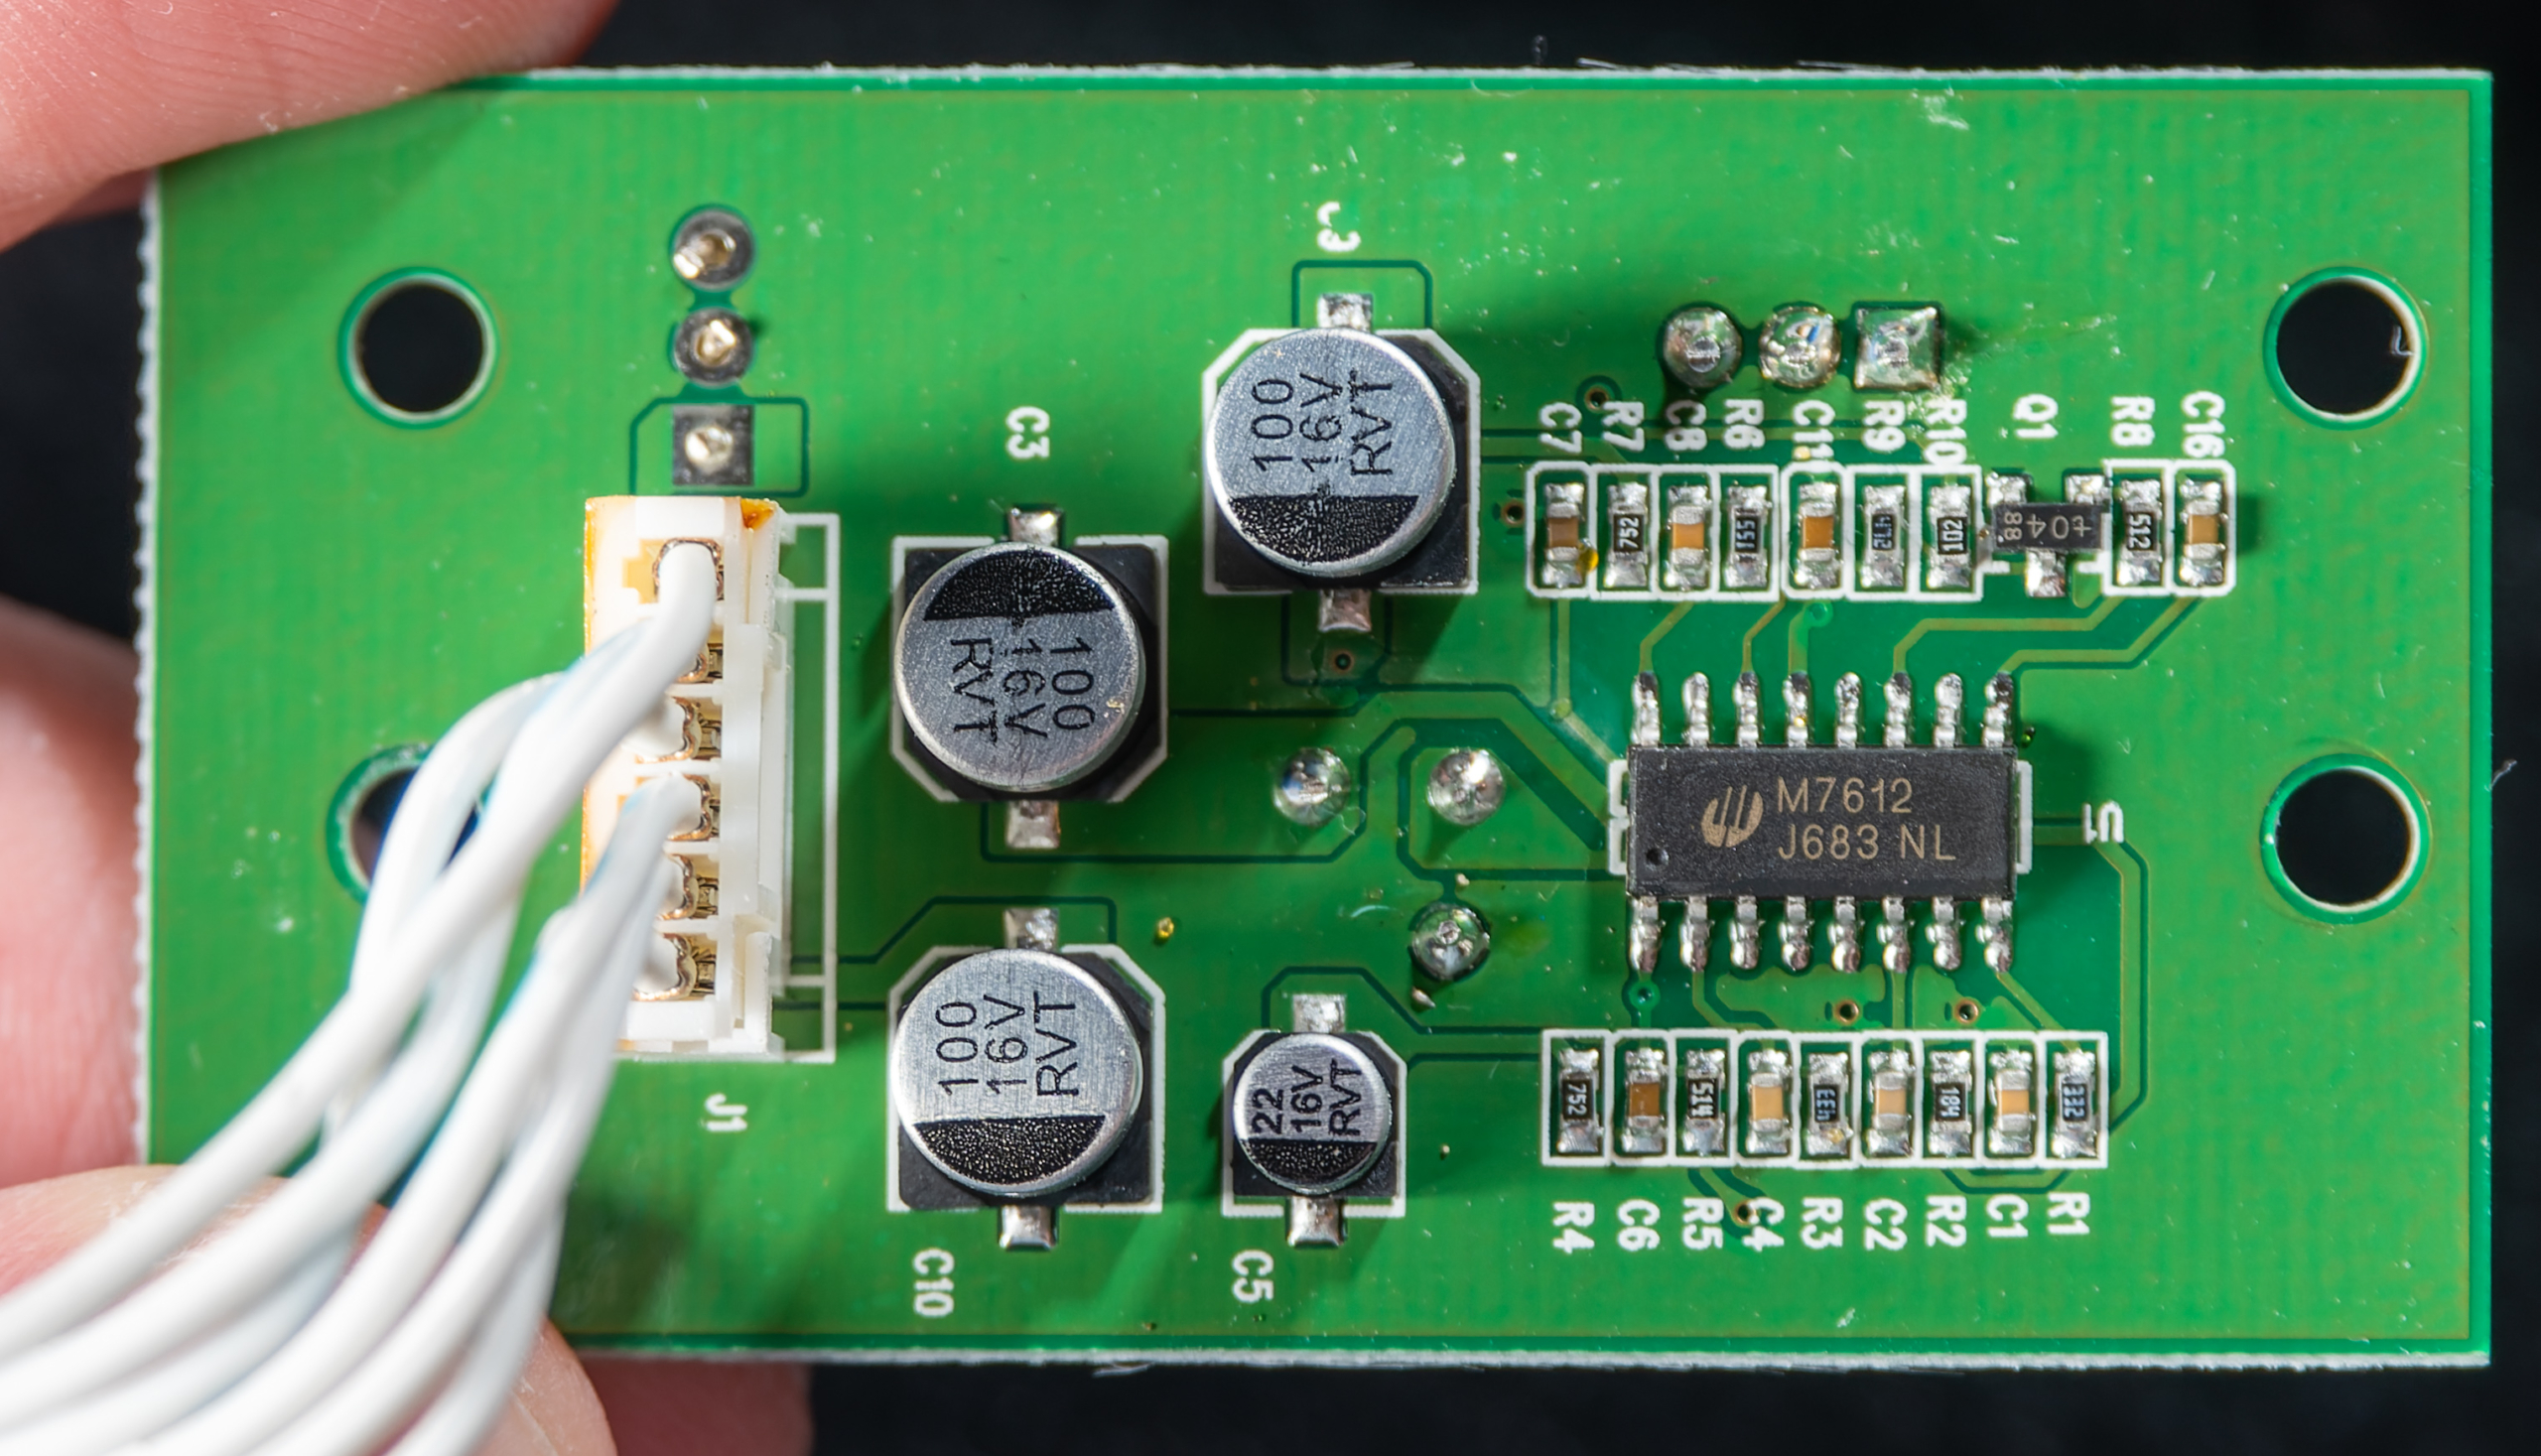
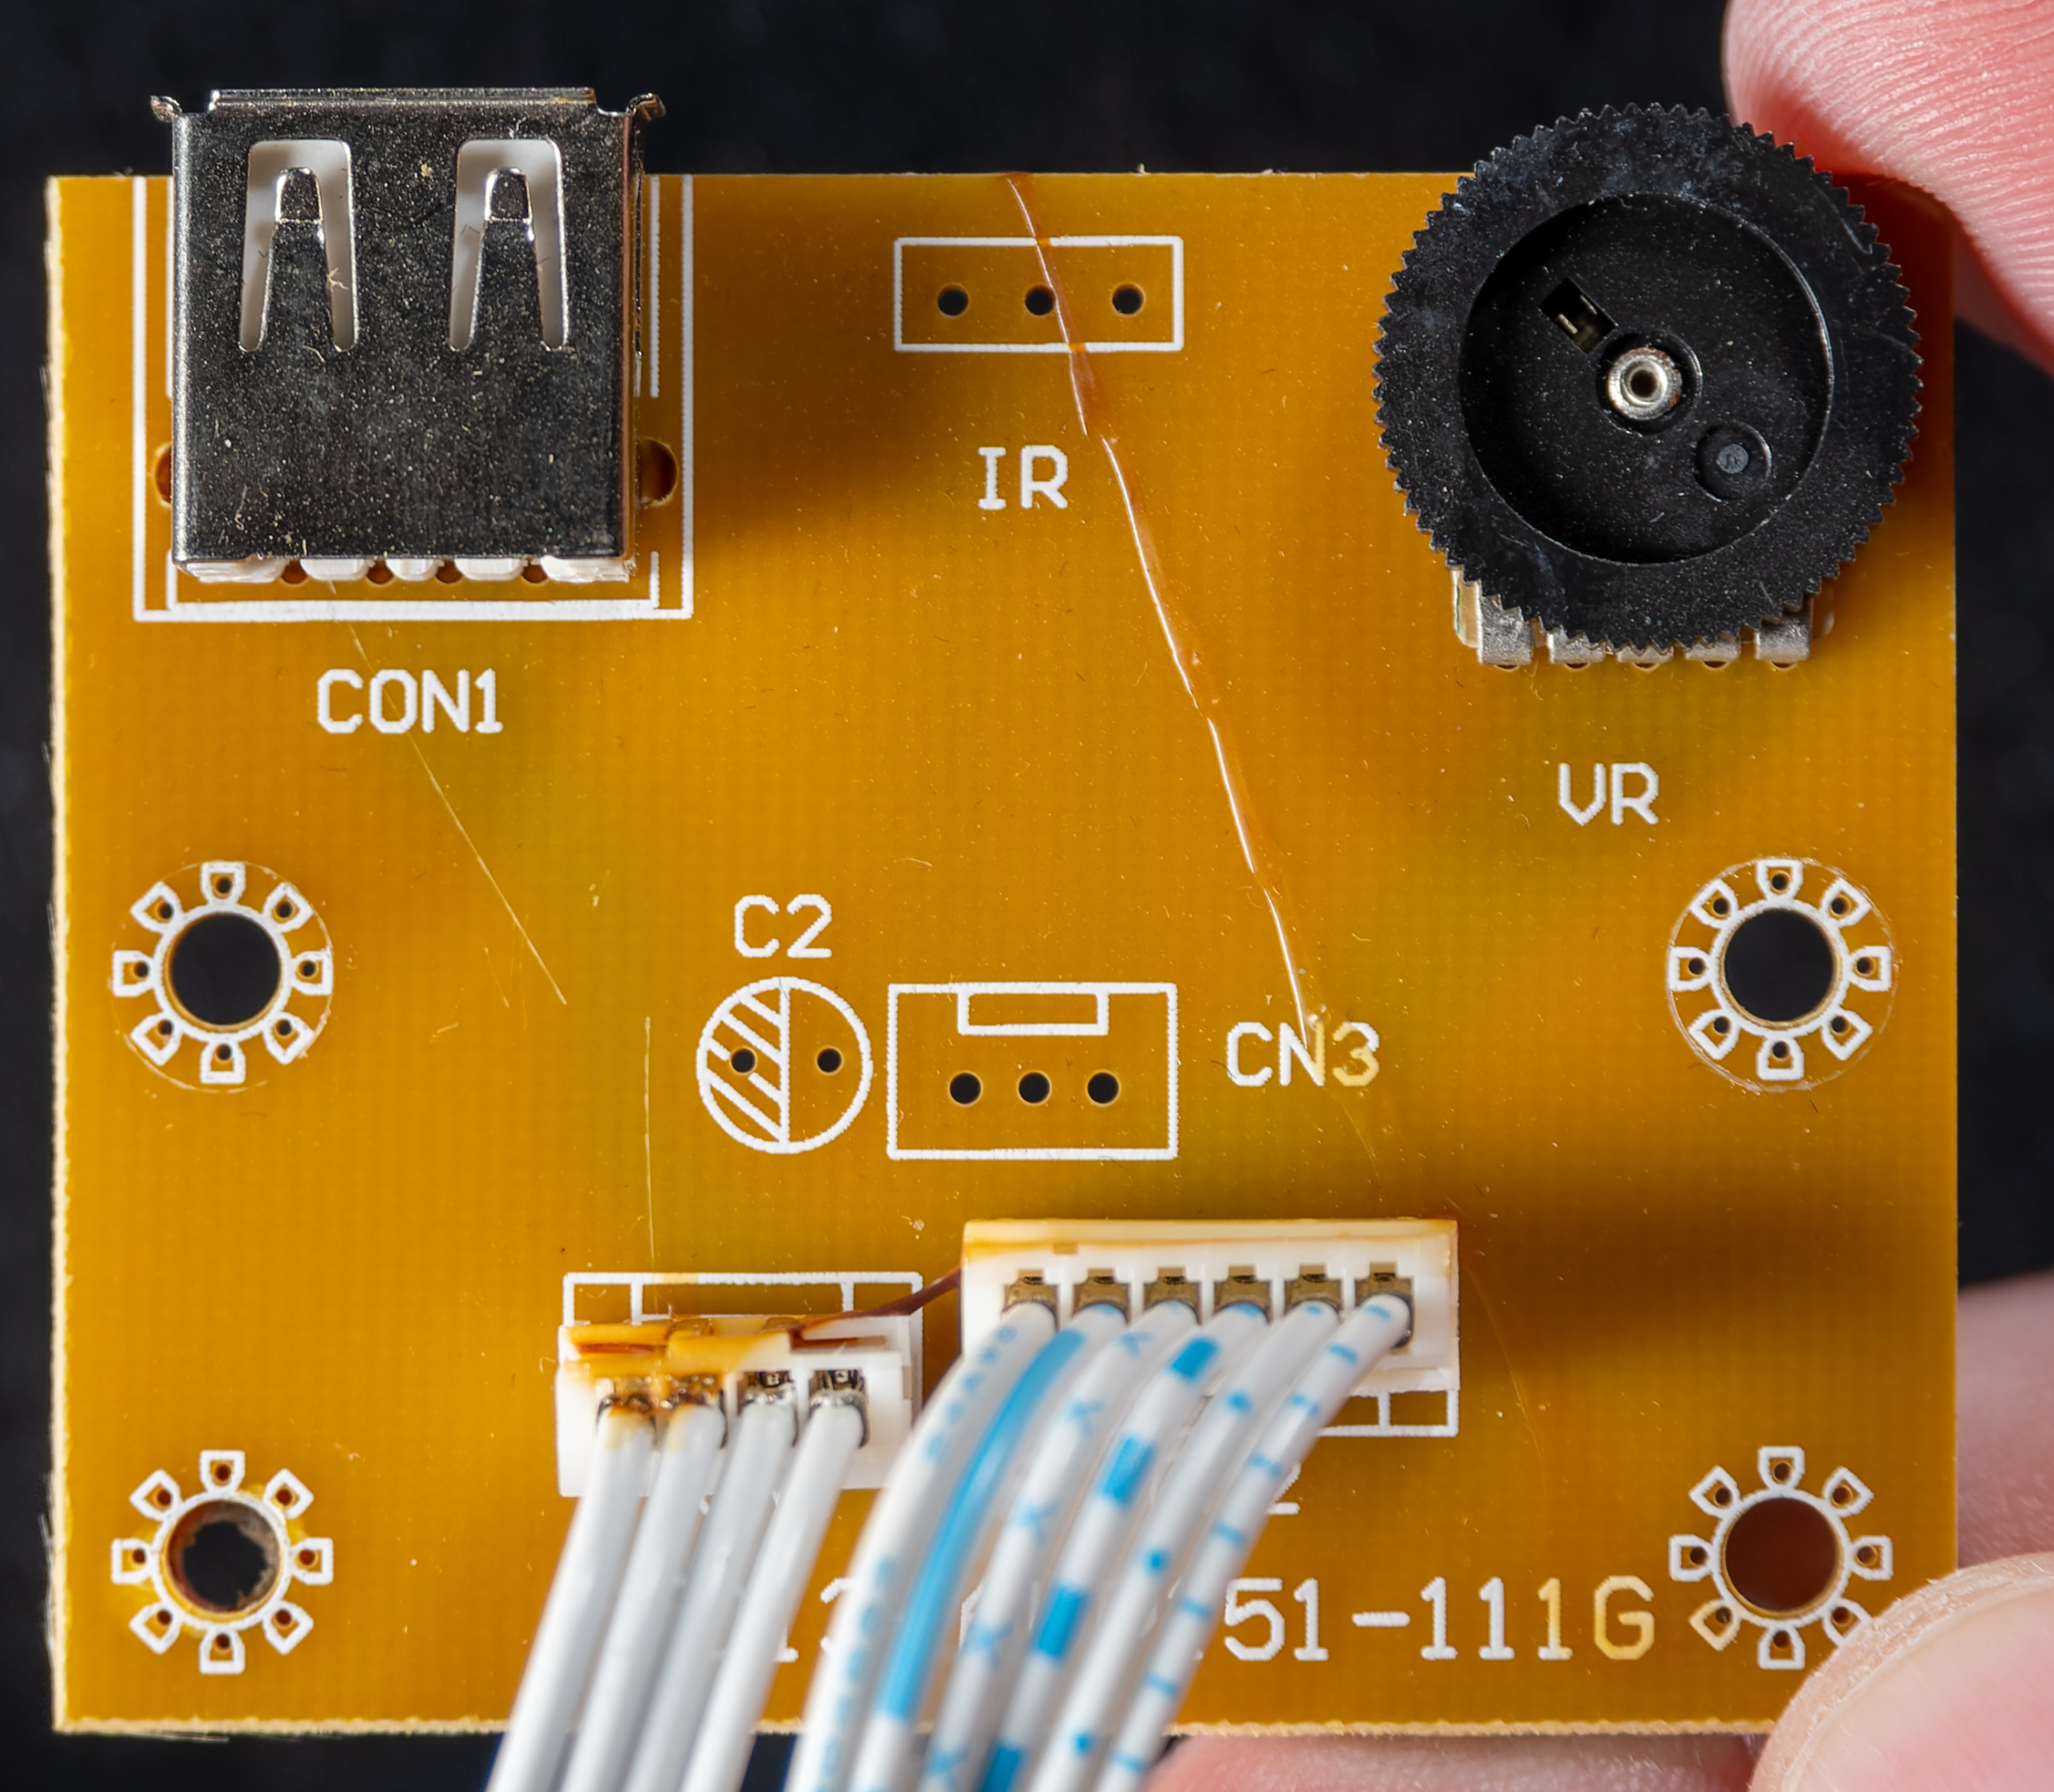
Comtek TAD-102 Video Display Teardown
The ffmpeg command I used to get a file on the device is
ffmpeg -i "INPUT.EXT" -s 720x480 -b:v 7000000 -c:v mpeg2video -b:a 128000 "OUTPUT.mpg"
Of course feel free to play with the bit rate and maybe setting a VBV buffer.
More Recent Show
An Adventure with the Canon AE-1 – Getting it Working and Developed
Music From 2:15 to 6:10 Provided by Nat Liles (https://soundcloud.com/natliles) Check them out!
Fujifilm GX680 Film Back Battery Replacement
(Studio images to follow, for the moment refer to the video)
There are 6 screws to remove. The first two on the back by the open lever are longer than the others.
Two on each side. These are on the blank side.
Two on the side with the dark slide. You can either remove the dark slide to make it easier to get to, or flip the handle out of the way to remove the screws.
The knob at the top is actually a screw. That center part will rotate, you just have to figure out how to get a grip on it, and then it just unscrews. The plastic piece just comes right out, don’t worry about orientation, it is keyed.
We want to go ahead and open the back, just bring down the lever until it clicks, then swing it open.
You can now separate the back, just wiggle and it should come loose. There are no hidden snaps. You will find it easier if the lock is clicked all the way down.
On the side you will find the battery you need to remove.
For this part you will need a soldering iron and solder. Some wick or solder sucker can help clean up excess. In mine, the battery was adhered to the plastic with tape, I recommend lifting it off first before desoldering. Then just desolder the battery legs.
Because I didn’t remove the tape first, I applied heat for too long, and removed the pin that the battery tab was soldered too. I simply cleaned the pad area and reattached the pin.
To solder the new battery, I made sure the direction or polarity of the battery was correct by referencing a photo I took prior to removing the old battery. In this view, positive is on the left side of the screen, with negative being on the right, or nearest that large circular speaker/beeper.
The tab was held to the pin, and solder was applied to the iron, then the joint.
For the other tab, I bent it into place, and repeated soldering.
The finished soldering job is not great, but contact is made, and the connection appears strong enough.
We can test if the battery is working by holding down the bottom “call” button and making sure the screen displays.
Now we just put the unit back together by putting the back plastic door assembly back on, making sure the opening lever is all the way down.
Snap the back into place.
Return the knob by putting the plastic piece on until it locks into the keyed position, then put the screw back in.
The remainder is putting the rest of the screws in, remembering the longer ones go by the door opening lever.
As an added step, I created a label with the date the battery was changed. The area was cleaned with an isopropyl alcohol swab and let to air dry prior to applying the label.
It is finished! The back now successfully remembers how many exposures were taken even if the camera has power removed, or if the back is taken off of the camera.
In the example we are on exposure 2. Removing the back, the call button still works, and it shows the correct number.
To remove the film back from the camera, insert the dark slide into the back. Press the revolve button and turn anti-clockwise 45 degrees, the back will now free itself to pull straight off.
Hopefully that was helpful! If so go ahead and leave a like. Make sure you are subscribed for more camera and tech videos, and leave a comment if you have any questions, I’ll try and help! Thanks!
Music by Frog Tales: https://www.youtube.com/channel/UC7_iBlr3l1OmW8yZ8_GvzEg
Minolta XG-9

Camera Make: Minolta
Release Year: 1979
Release Price: $170 for the Body, $280 for Body and 50mm f/1.4 lens (as of 1981)
Current Street Price: $20 – $50
Notable uses:
Interesting Features:
Media: 35mm Film
Can you still get the media now: Yes.
Interchangeable lenses: Minolta MD Bayonet Mount
Batteries: Two 1.5V Silver Oxide
Can you still get the battery: Easily, using two AG13 / KS 76, does not need to be silver to function correctly based on my testing.
Testing
Can you test without batteries: No. The shutter will not fire in any mode without batteries. You can focus an attached lens, turn dials, and cock the shutter once if not already cocked.
Can you test without a lens: Yes. The camera will let you fire the shutter without a lens.
Can you test without media: Yes. Film is not required to function, and you do not need to trick the film advance to do subsequent shutter tests.
How to test the camera: Insert batteries and turn the dial to B.C. The front light should illuminate brightly*. You can then attempt to cock the shutter, test fire, examine the meter, roughly check shutter speeds, make sure film advance is functioning, etc.
*My battery holder was corroded, and even after cleaning in vinegar, it still required scratching it quite a bit to make contact. It usually takes me several attempts at getting the batteries in place until the front light will illuminate, but once it does, I do not have any issues after that.
Camera Operation
How to Load the Camera: Typical 35mm SLR Film Loading
Viewfinder: SLR with Split and Microprism.
How to Take a Picture: Half press the shutter button to activate the meter, fully depress to fire the shutter.
Conclusion
Highly recommended camera. One of the easiest manual focus 35mm cameras I own. Requires few easy to get batteries, and has worked reliably (outside of mine having been corroded). Since it is consistently cheaper and less desirable than the Canon AE-1, it is a good cheap beginner camera, and most kit lenses are great, or you can easily find cheap lenses for the camera. Minolta MD lenses are less desirable than Canon FD lenses, making equivalent lenses routinely less expensive second hand. The main drawback is the lack of metering in non auto modes, you get no real feedback on manual exposure. Good way to learn how to use manual metering though while still having auto when needed.
Sources
- “Lion Photo Supply Inc.” Popular Photography, March 1981, p 128, https://books.google.com/books?id=lbq6B5ImPaUC&lpg=PA128&dq=minolta%20xg-9&pg=PA128#v=onepage&q&f=false Retrieved 2022-08-16.
- Minolta XG series. Camerapedia. Retrieved 2022-08-16 from https://camerapedia.fandom.com/wiki/Minolta_XG_series
- The Minolta XG Series. The Rokkor Files. Retrieved 2022-08-16 from http://www.rokkorfiles.com/XG%20Series.htm
- Music from 1:53 to 8:30 provided by Frog Tales: https://www.youtube.com/channel/UC7_iBlr3l1OmW8yZ8_GvzEg


Is it any good? Tests and comparison.
Category: New Things New Tech
Today on New Things, New Tech: Most techs don’t believe you really have a problem unless they see it first hand. I told the guy that one of the AC compressors wasn’t starting all the time. We’d get repeated dimming of lights before the unit would start up. So to prove the problem, I created this video.
Category: Nick's Electronics
What’s with this cheap third party DSi charger? Is it any good?